This easy black forest cake is a delicious dessert, perfect for enjoying in the Winter months as it’s full of subtle Christmas flavours.
In my house, this cake is definitely a favourite – I made it for my gran’s birthday as she really loves the combination of chocolate and cherries. This simple black forest cake doesn’t just have cocoa for chocolate flavour – it’s also packed full of chocolate chips that melt slightly as the cake cooks. This gives the cake a wonderful texture!
I did originally question whether the extra chocolate chips were necessary, but of course – extra chocolate chips are always 100% necessary!
This recipe produces an incredible beautiful Black Forest drip cake but also is super easy to make at home.

What do I need to make my own easy black forest cake?
There are effectively 3 elements of this cake: the cake itself, the buttercream, and the other decorations.
For the cake itself:
- Butter to provide moisture and fat which is essential in baking
- Golden caster sugar for a light, moist cake that’s very fluffy
- Medium eggs to bind all of the ingredients together
- Plain flour to provide structure
- Cocoa powder for chocolate flavour
- Bicarbonate of soda to help the cake to rise
- A pinch of salt because it both prevents the cake from being too sweet and brings out more depth of flavour in the cake
- Cherry yoghurt to both bind the ingredients together and provide cherry flavour
- Cherry jam for more moisture and rich cherry flavour – I like to use chunky jam here
- Chocolate chips – either milk or dark chocolate work very well here
For the black forest frosting:
- A lot of unsalted butter so that you can control the flavours
- Half a ton of icing sugar – well, 1.4 kg so not quite a ton but getting there!
- Milk for moisture
- Purple colouring paste which is purely for appearance to take away the yellow of the butter
For the other decorations:
- Glacé cherries to add warmth and give the cake an inviting look
- Dark chocolate for the chocolate drizzle
- A jar of cherry jam for even more cherry flavour in the Black Forest layer cake
How do I make this cake?
The list of ingredients for this cake looks awfully long, but trust me – this black forest cake is far easier than you might think!
- Cream together the butter and sugar until light and fluffy – I like to use a mixer for this, but you can do it by hand.
- Add the eggs one at a time and mix in.
- In a separate bowl, sieve the flour, cocoa powder, bicarbonate of soda and salt together.
- Add the yoghurt and cherry jam to the butter mixture and stir.
- Add the flour mix slowly, stirring it in until all the flour has been incorporated into the mix.
- If your jam was particularly runny, add an extra tablespoon of flour.
- Stir in the chocolate chips.
- Divide the mixture between 2 cake tins and bake! Let it cool in the tin for 30 minutes then remove to a cooling rack.
See? Easier than you thought!
How do I make black forest cake frosting icing?
Don’t worry if you’ve never made buttercream before – it’s easier than you think! Just beat the butter in a stand mixer, gradually adding the icing sugar and milk until it’s light, fluffy and well-combined.
If you’re using the food colouring then simply add it a little at a time. This is just to neutralise the slight yellow tint of the buttercream. Be careful not to use too much or your frosting will turn purple!
Black Forest chocolate drip cake
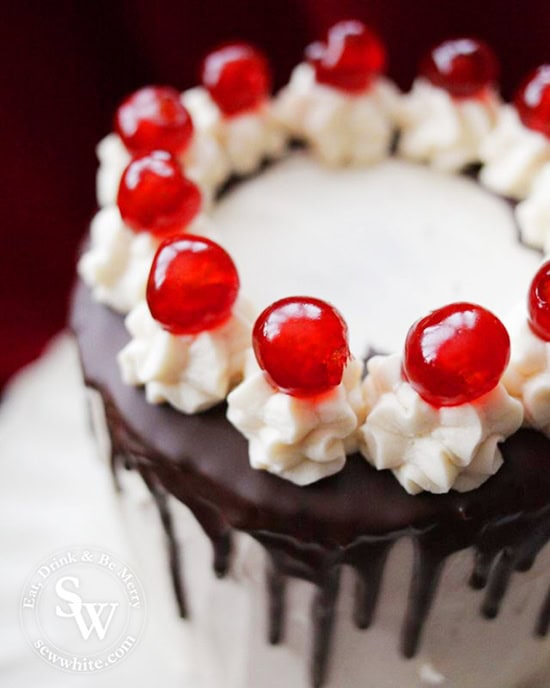
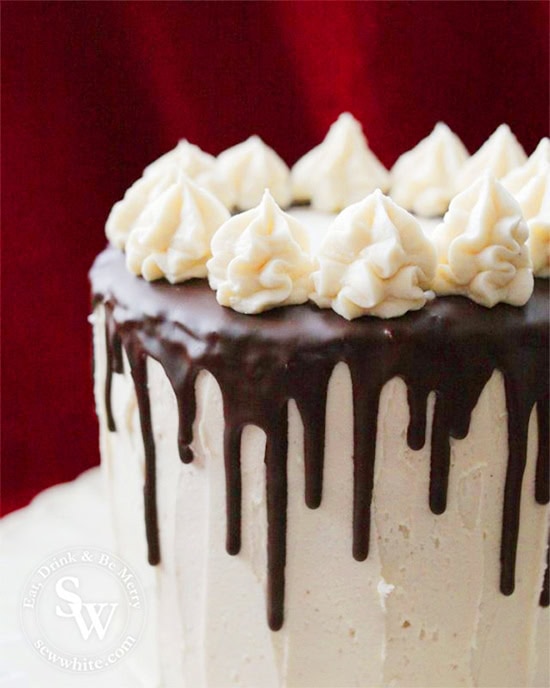
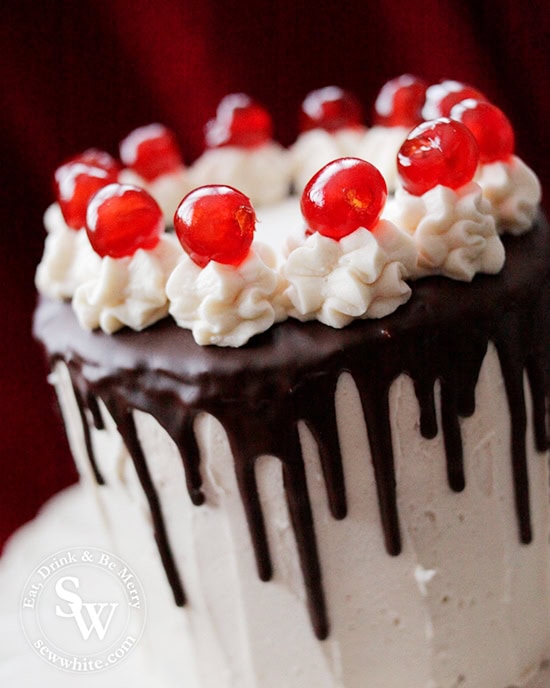
This cake is beautiful and simple to make. The chocolate drip on the outside of this black forest layer cake is stylistic and creates a lovely show stopper. The dark chocolate on the white buttercream is beautiful. I love how it looks. To take away from the monotone look of the cake I used bright red cherries on top of the buttercream swirls on the top. They stood out and I think make this Black Forest cake look so sophisticated and absolutely inviting.
Black Forest Layer Cake
Making a black forest layer cake it easy. This is a 4 layer cake. Made with 2 6inch cakes sliced to make 4 layers. I like using 6 inch cake tins as it makes the finished layer cake tall and I think that makes them more of a show stopper. To continue the easy black forest flavours on the outside and give a hint to the flavour inside I wanted to add a chocolate drip and decorate with cherries. I think from the finished cake you have a clue to what the flavour will be ad it looks beautiful.
How should I decorate this simple black forest cake?
I wanted this cake to look elegant and sophisticated, and I must say that I think I succeeded! The drip effect is one that I love as it’s super easy but always gives such great results.
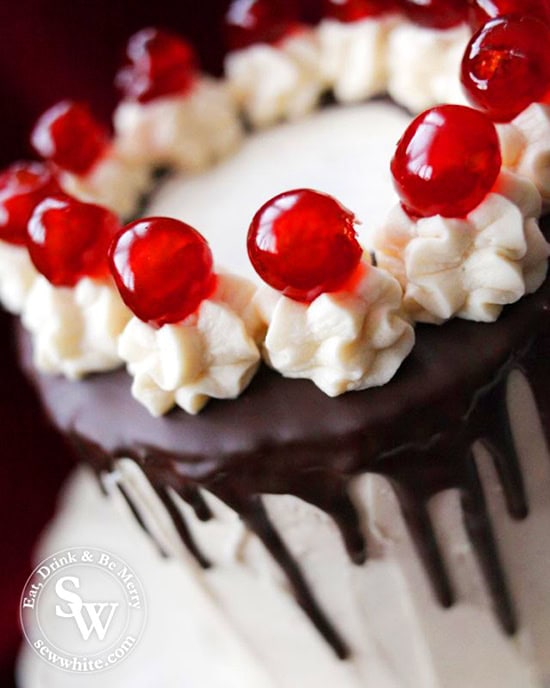
I’m certainly no buttercream artist, though – I’m definitely improving, so I stuck to simple piped blobs of frosting topped with cherries, which really stand out against the dark chocolate drips! The cherries add a bright, glossy element to the cake which really stands out and looks incredibly inviting!
Between the buttercream, chocolate drizzle and bright red cherries, this cake really is extra special – perfect for any celebration.
How should I serve black forest cake?
I’d say to keep things simple. Just bring out the whole cake for the people you’re serving and cut each person a slice – it doesn’t need to be complicated here as the cake is perfect alone without any extra cream or other things people may add!
Check out my other cakes and sweet treats
Easy Black Forest Cake
Ingredients
- 220 g unsalted butter
- 450 g golden caster sugar
- 4 medium eggs
- 350 g plain flour / all purpose flour
- 60 g cocoa powder
- ½ tsp bicarbonate of soda
- tiny pinch of salt
- 350 g cherry yoghurt
- 4 tablespoons cherry jam chunky jam works really well
- 60 g chocolate chips milk or dark chocolate
Buttercream
- 600 g unsalted butter
- 1400 g icing sugar / confectioners sugar
- 3 tbsp milk
- purple colouring paste
Decorating
- 12 glacé cherries
- 100 g dark chocolate
- 1 jar cherry jam
Instructions
- Preheat the oven to 180 (150 fan)
- Grease and line 2x 6 inch cake tins.
- Cream together (in a mixer or by hand) the butter and sugar until fluffy.
- Add the eggs one at a time and mix.
- In a separate bowl measure out and sieve the flour, cocoa powder, bicarbonate of soda and salt.
- Add the yoghurt and jam/conserve to the butter/egg mix.
- Add the flour mix slowly stir in until all the flour has been incorporated.
- (If the jam you used is runny you might need to add a tablespoon extra of flour to stop the mix being too runny.)
- Stir in the chocolate chips.
- Divide the cake between the two tins and bake for 40-50 minutes, until a cake tester comes out clean it’s done. Leave to cool for 30mins and then remove to a cooling wrack until cold.
Making the buttercream
- In a stand mixer beat the butter gradually adding the icing sugar and the milk until light and fluffy and well incorporated.
- If you want beautifully white buttercream add a tiny amount of purple food colouring paste. The purple will neutralise the yellow tint of the buttercream. Be careful to add a tiny amount at a time otherwise it will go purple.
- Add a large round nozzle to a pipping bag and fill it up with the buttercream.
Assembling the Cake
- Level off the cakes and cut them in two horizontally into two equal pieces. So you have 4 layers altogether.
- On a cake plate or turn table start assembling the layers. On the first layer of cake spread on a tablespoon of jam.
- Pipe the buttercream on top of the jam and add the next cake level.
- Repeat with the next 2 cake layers and finish with the top layer (don’t add jam to the top layer).
- Pipe buttercream around the cake and across the top. Use a palette knife or spreader to spread it out evenly.
- I used a little palette and dragged the buttercream upwards gently to give it a texture.
- Melt the chocolate and allow to cool slightly before adding it to a piping bag or squeeze bottle. Gently add chocolate drips around the cake. I just added the chocolate around the edge and left the centre of the top of the cake free as a design.
- Add the remaining buttercream to a piping bag with a star nozzle. Pipe 12 blobs on the top and add a glacé cherry.
- Serve and Enjoy.
Nutrition
Please note that the nutrition information provided above is approximate and meant as a guideline only.
Follow me on Instagram to see what I’ve been making recently. www.instagram.com/sewwhite
I’ve always loved the combination of chocolate and cherries and I like the idea of using cherry jam in this recipe too. Delicious!
Thank you so much. Cherry jam is just delicious. This cake is just an excuse to eat more of it!
Black forest cakes are my favorite. Love the addition of the yogurt, keeps it moist and adds extra cherry flavor.
Black forest is my favorite. This looks so gorgeous and delicious
You really hit it out of the park with this cake! You should’ve seen my family’s eyes when I brought this to the table. Thank you for making me look like a rockstar! Everyone loved it!!
This cake looks perfect! Love the chocolate drip – so cool!